🔐 Ledger.com/Start – Getting Started with Your Ledger Hardware Wallet
Ledger.com/start is the official onboarding page for all Ledger hardware wallets, such as the Ledger Nano S Plus, Ledger Nano X, and Ledger Stax. This is where you begin setting up your device, installing the Ledger Live app, and learning how to manage your crypto securely.
Below is a full guide to help you through the setup process using Ledger.com/start.
✅ Step-by-Step Guide to Start with Ledger
1. Visit the Official Setup Page
Go to https://www.ledger.com/start
⚠️ Always double-check the URL to ensure you're not on a phishing site. Ledger will never ask for your recovery phrase online.
2. Select Your Device
Choose your Ledger model:
- Ledger Nano X
- Ledger Nano S Plus
- Ledger Stax
Each model has slightly different features, but the setup process is similar.
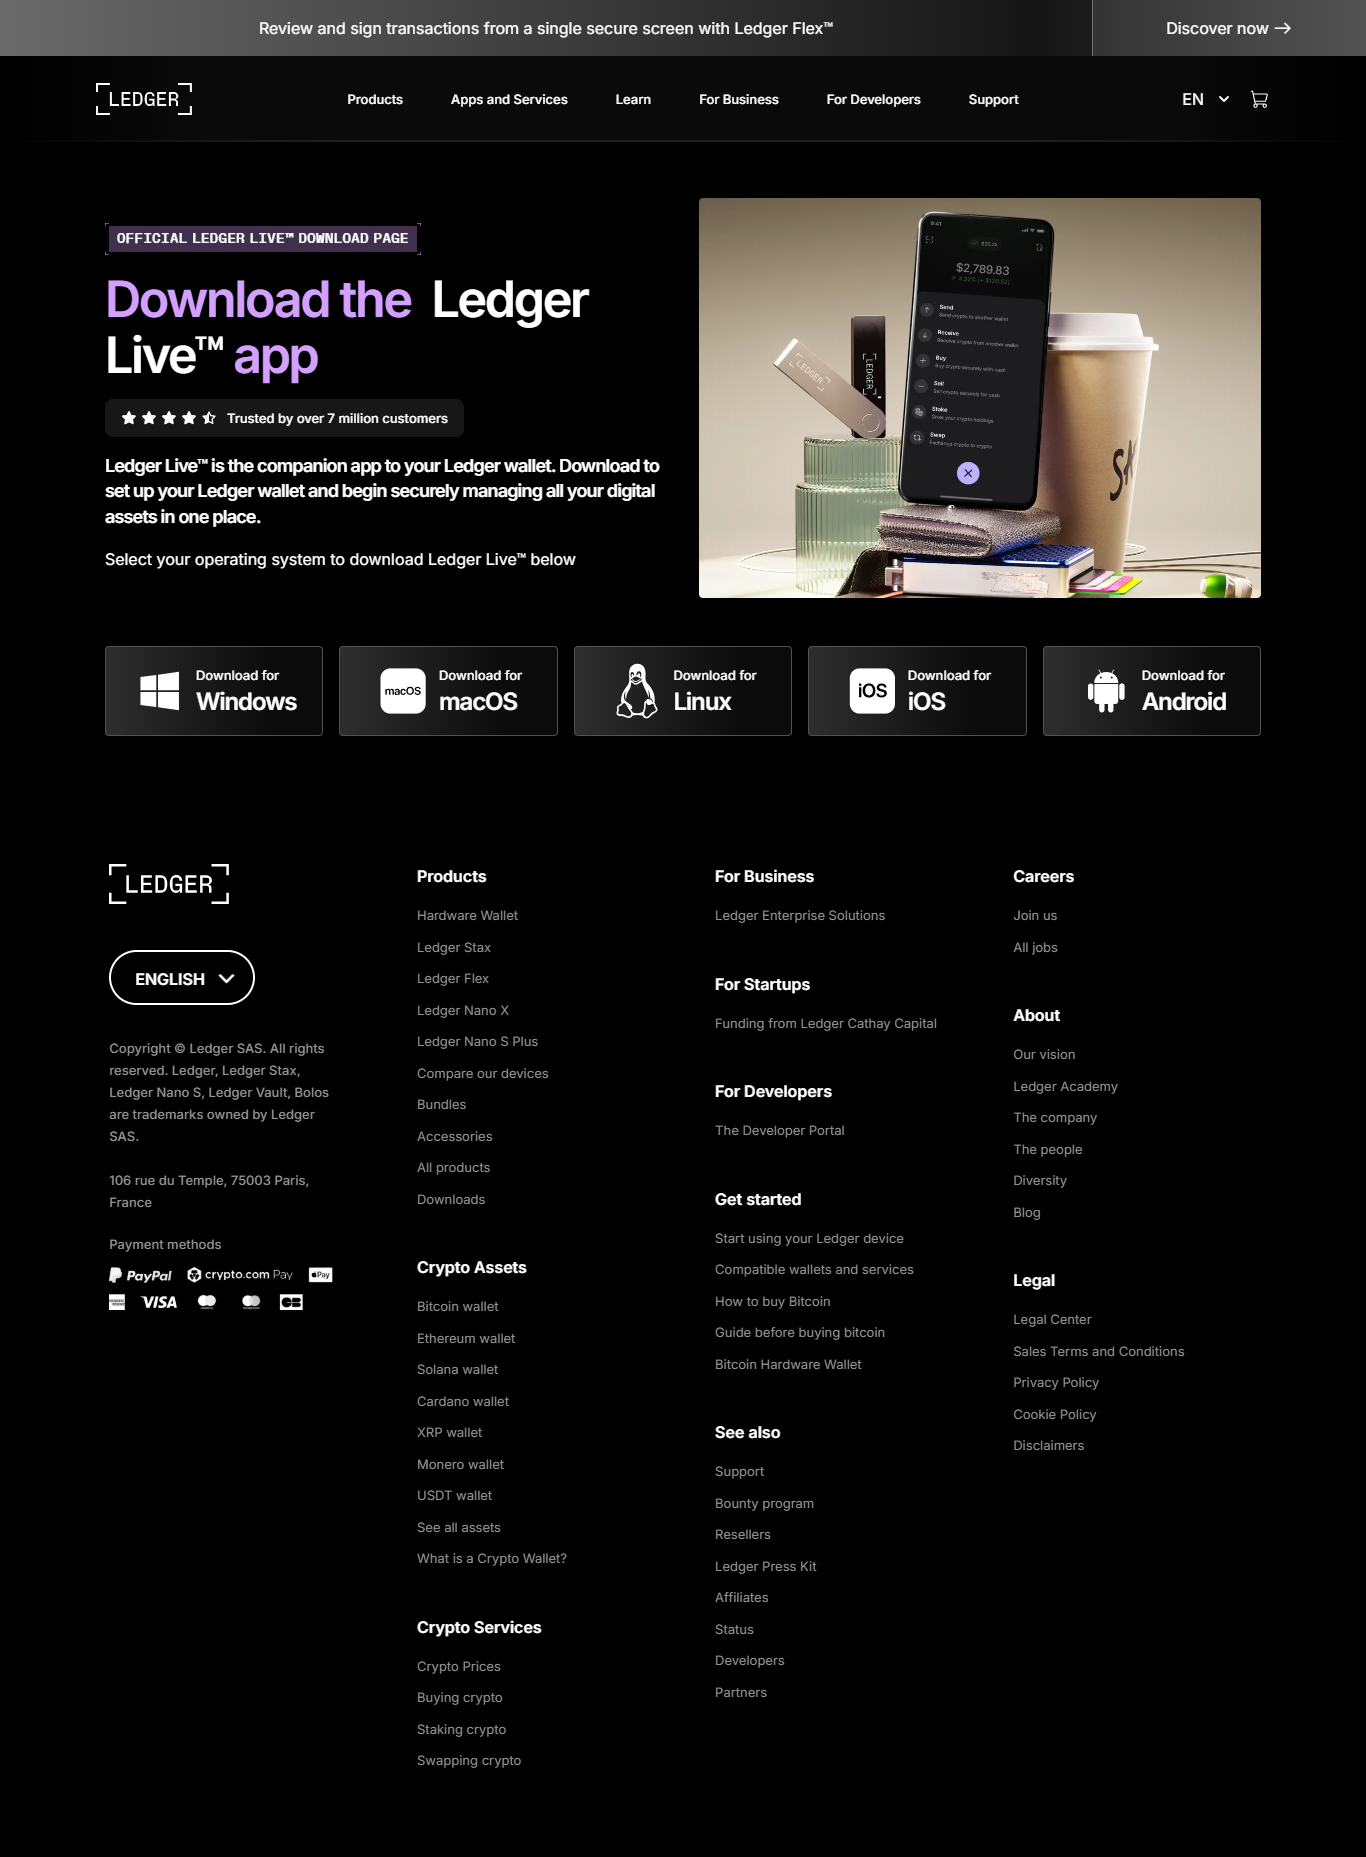
3. Download Ledger Live
Ledger Live is the official app to manage your crypto assets and interact with your hardware wallet.
- Available for Windows, macOS, Linux, and mobile (iOS & Android)
- Download it directly from ledger.com/start to avoid fake apps
4. Set Up Your Ledger Device
Once Ledger Live is installed:
- Connect your Ledger via USB (or Bluetooth for Nano X)
- Follow the device instructions to:
- Set a PIN code
- Generate your 24-word recovery phrase
- Write down the recovery phrase carefully on the provided recovery sheet
⚠️ Do not take photos or store your recovery phrase digitally. Anyone with this phrase can access your crypto.
5. Verify and Secure
- Confirm your recovery phrase by selecting the correct words in order on the device.
- Once confirmed, your wallet will be initialized and ready to use.
6. Add Accounts in Ledger Live
Within the Ledger Live app:
- Choose the crypto asset you want to manage (e.g., Bitcoin, Ethereum)
- Install the corresponding app on your Ledger device
- Add the asset account to your Ledger Live dashboard
7. Send, Receive, and Manage Crypto
Now you can:
- Receive crypto to your wallet address
- Send funds securely
- Stake assets, swap tokens, and connect to DeFi/Web3 apps
🔐 Why Use Ledger?
- Cold storage: Private keys never leave your device
- Certified Secure Element: Military-grade chip protection
- Ledger Live: All-in-one crypto management interface
- Regular firmware updates for enhanced security
🛡️ Security Tips
- Never share your recovery phrase or PIN
- Only download Ledger Live from the official site
- Use a secure internet connection during setup
- Ledger employees will never ask for your recovery phrase
🚀 Ready to Begin?
Visit Ledger.com/start and follow the guided steps to secure your crypto assets with confidence.